I have been baking ever since I was little and would always help my mum in the kitchen. The smell and taste of freshly baked goods has always been a past-time for me and learning new recipes to make delicious goodies is one of my favourite hobbies.
A staple recipe I learned was making the most delicious buns (cupcakes) and one of the first recipe’s I learned by heart.
Whether you’re celebrating a birthday, hosting a get-together, or just craving a sweet treat, buns are the perfect little indulgence.
This recipe has been a go-to in my kitchen for years. It is simple enough for beginners, but delicious enough to impress.
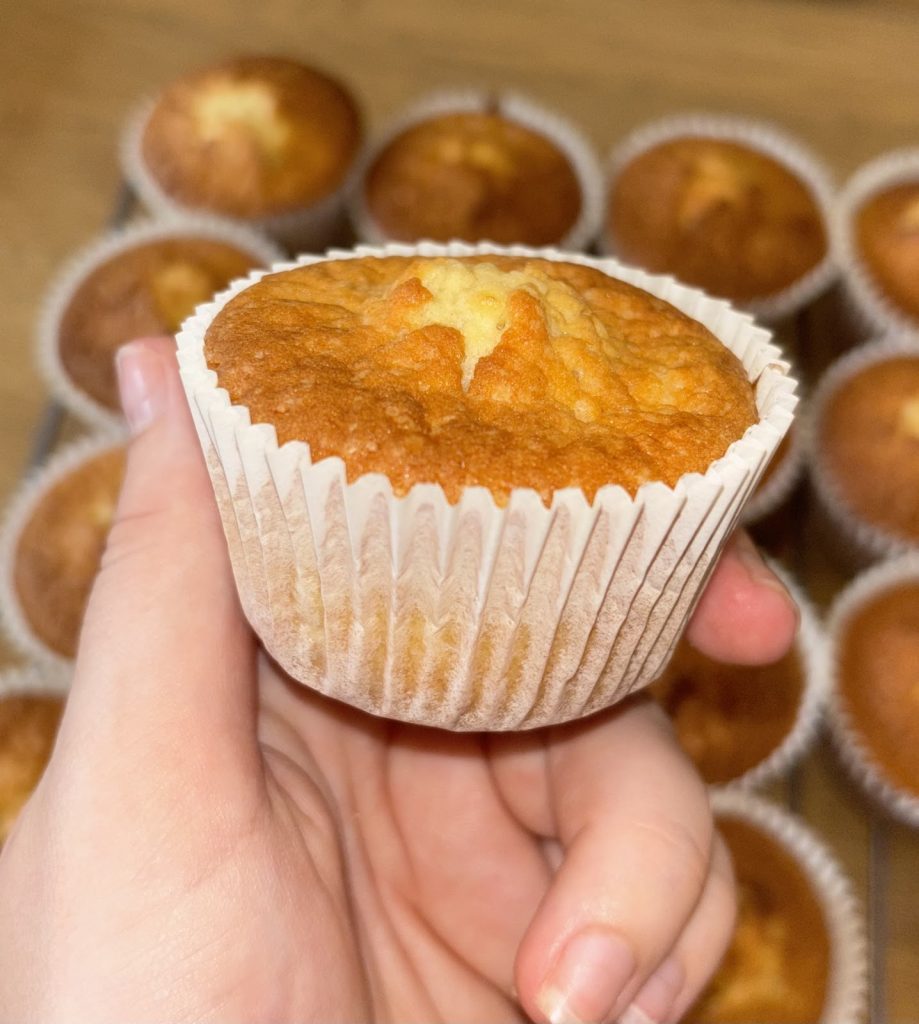
With a spongy, fluffy centre and golden edge, perfect on their own or covered in your favourite icing, these cupcakes are made to be shared (or kept all to yourself – non judgement!).
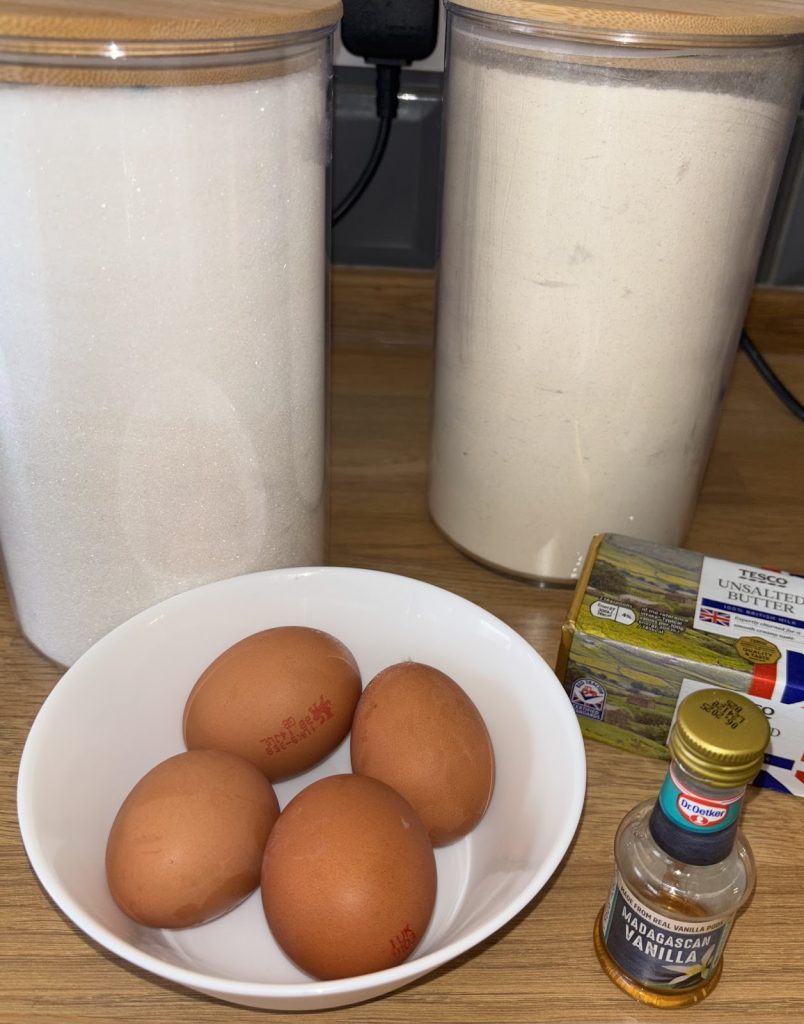
Ingredients
I have always used a rule I like to call the ‘4,4,2’ rule. I usually measure this recipe in Oz, however I will also put conversions for grams.
The rule basically covers that all the ingredients are *however many oz* along with half the amount of eggs.
For example, if you were to use 4oz of sugar, butter and flour (or flour mixture depending on flavour additions) you would then use 2 eggs and this would create the perfect mixture. If you were to use 8oz, you would use 4 eggs, and so on.
To make roughly 16 cupcakes:
- 8oz (220g) Caster Sugar (regular sugar is fine, but caster sugar is finer and blends better)
- 8oz (220g) Butter (it is important to use regular butter, not spread or margarine)
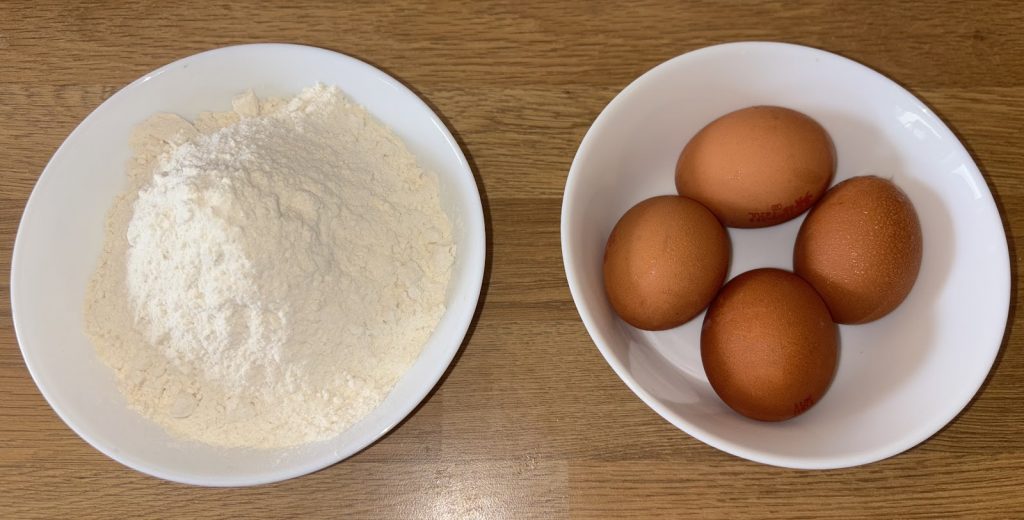
- 4 eggs
- 8oz (220g) Self-Raising Flour (if you only have plain, you can use this alongside 2tsp baking powder. Use a ratio of 1tsp baking powder for every 100g flour)
- Dash of milk and dash of vanilla extract for creaminess and flavour.
Tools Required:
- Mixer. I use a hand mixer, but a machine would be easier. If you don’t have either, a hand whisk will also work, it will just be more effort and may take a little longer.
- Mixing bowl.
- Weighing scales.
- Sieve.
Method
- Pre-heat your oven to 180-200°c (160-180 fan, Gas Mark 4-6). Use judgement on how hot your oven usually gets.
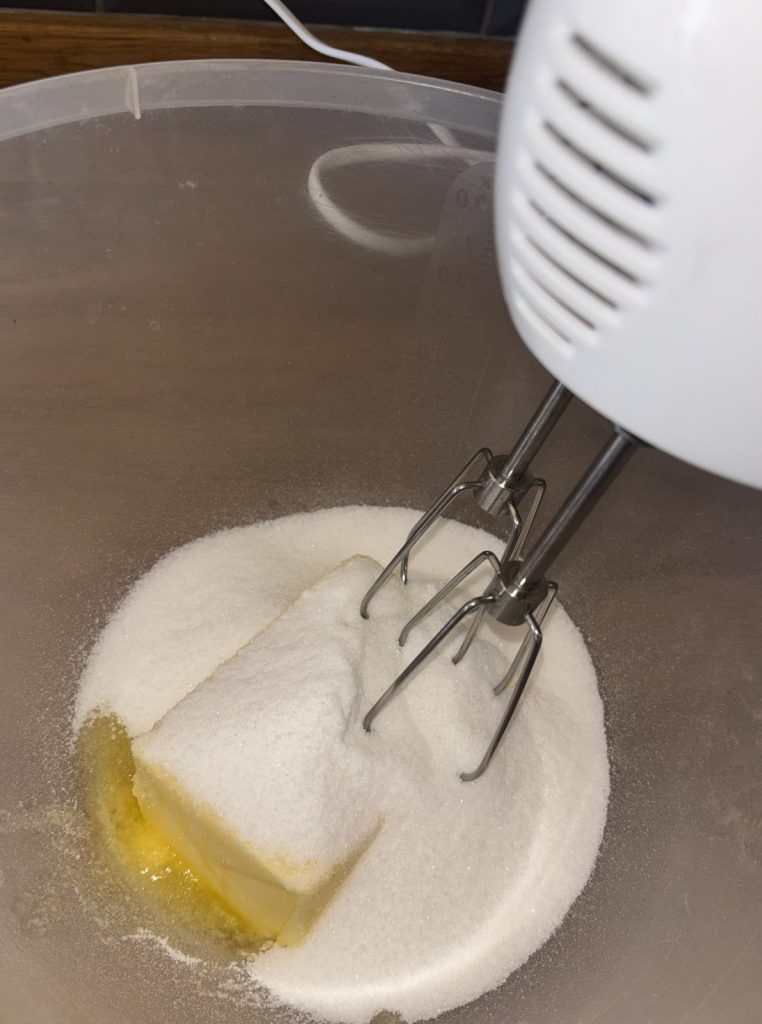
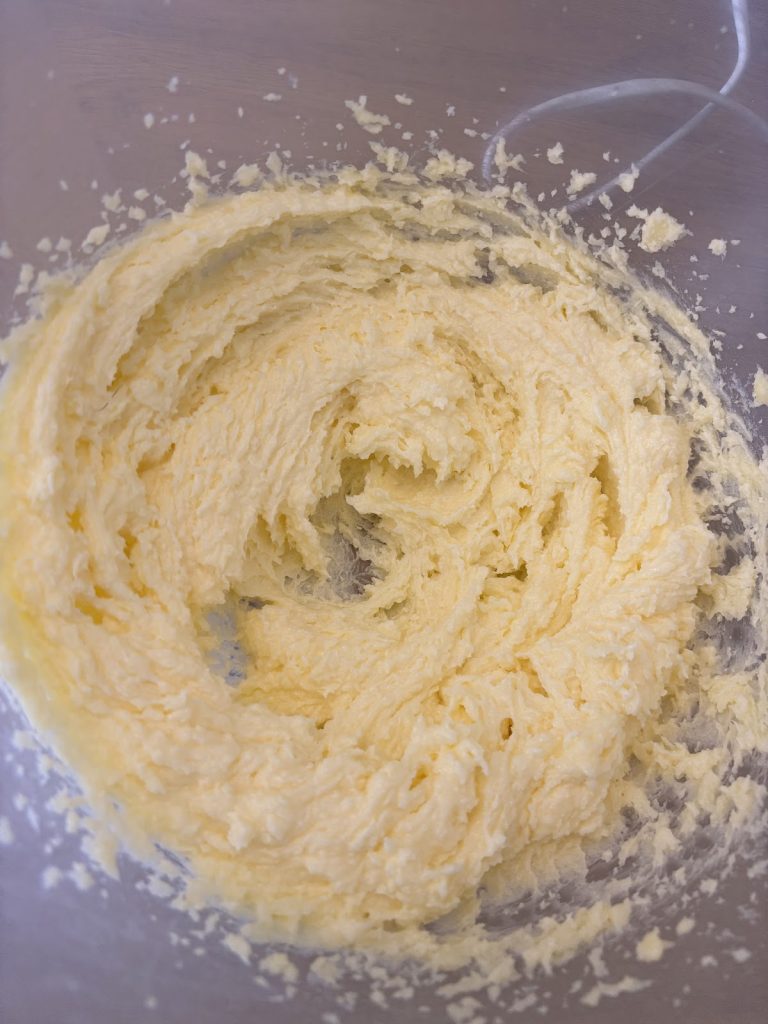
2. In a bowl, mix together the butter and the sugar. The butter should be room temperature, don’t be afraid to microwave to soften if needed. This should be in 10 second increments, but careful not to burn it. You want this to create a light and fluffy mixture so mix until well blended.
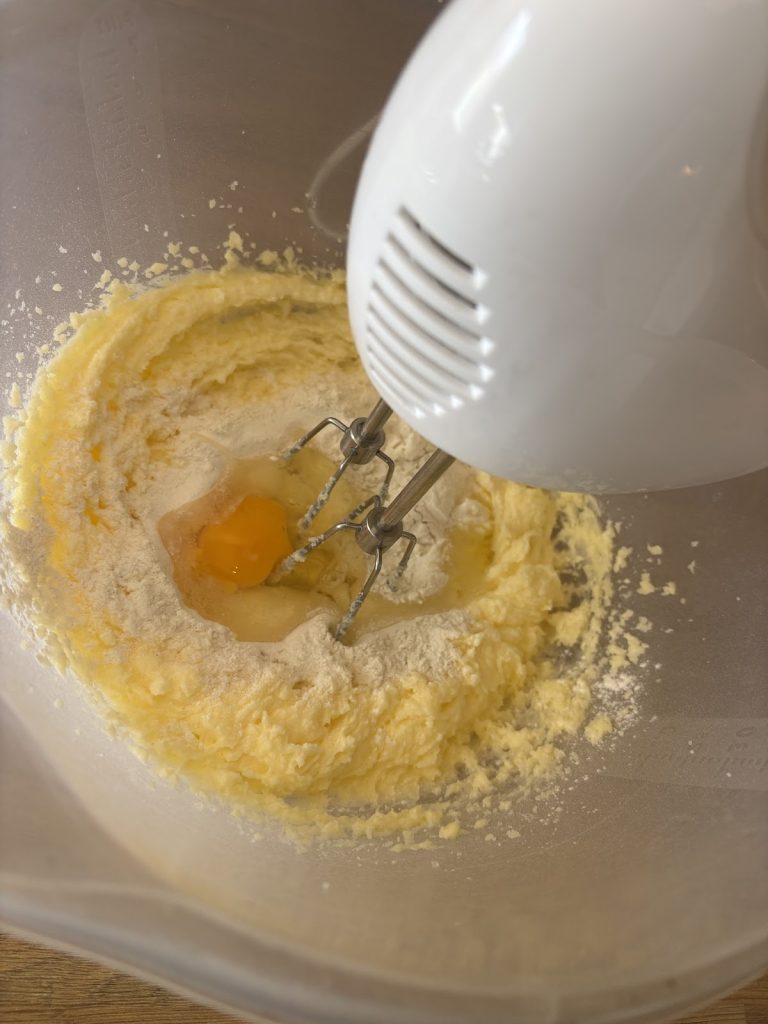
3. When mixing in the flour and eggs, this needs to be done bit by bit. What you want to do is section the flour into however many eggs you have in order to mix in part flour, one egg. Pour in a quarter of the flour, crack in one egg and mix together. Repeat this until the flour and all eggs are gone. Adjust the amounts depending on measurements used. I would recommend sifting the flour, but this isn’t essential if you do not have a sieve, just make sure the flour is mixed in well.
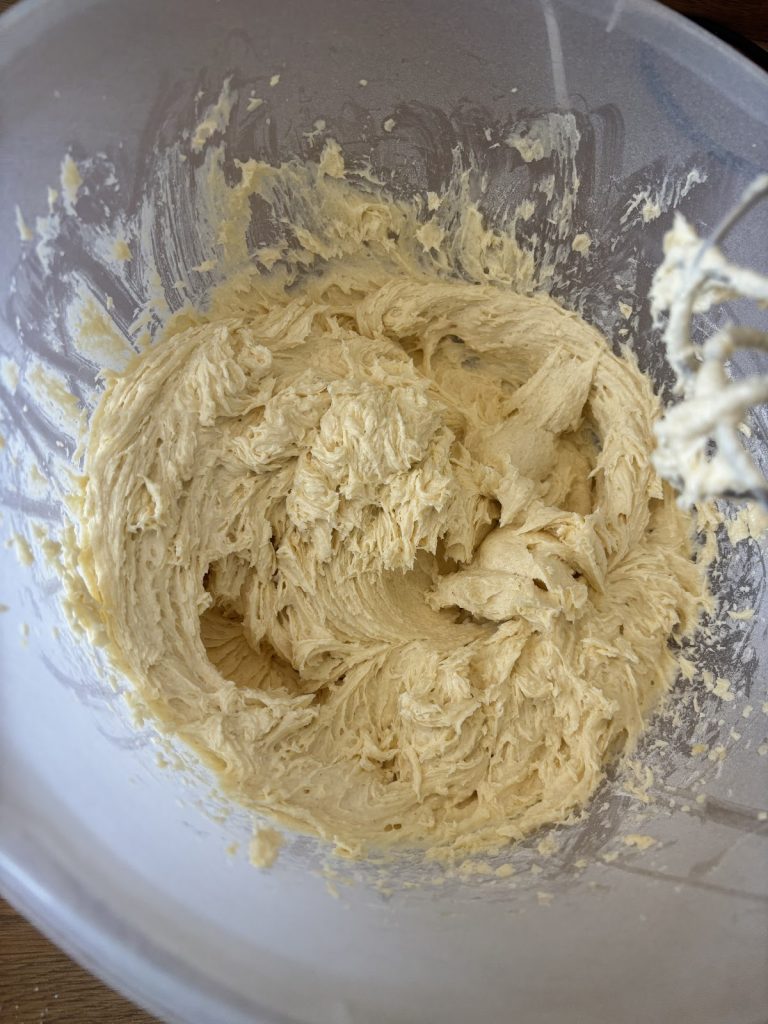
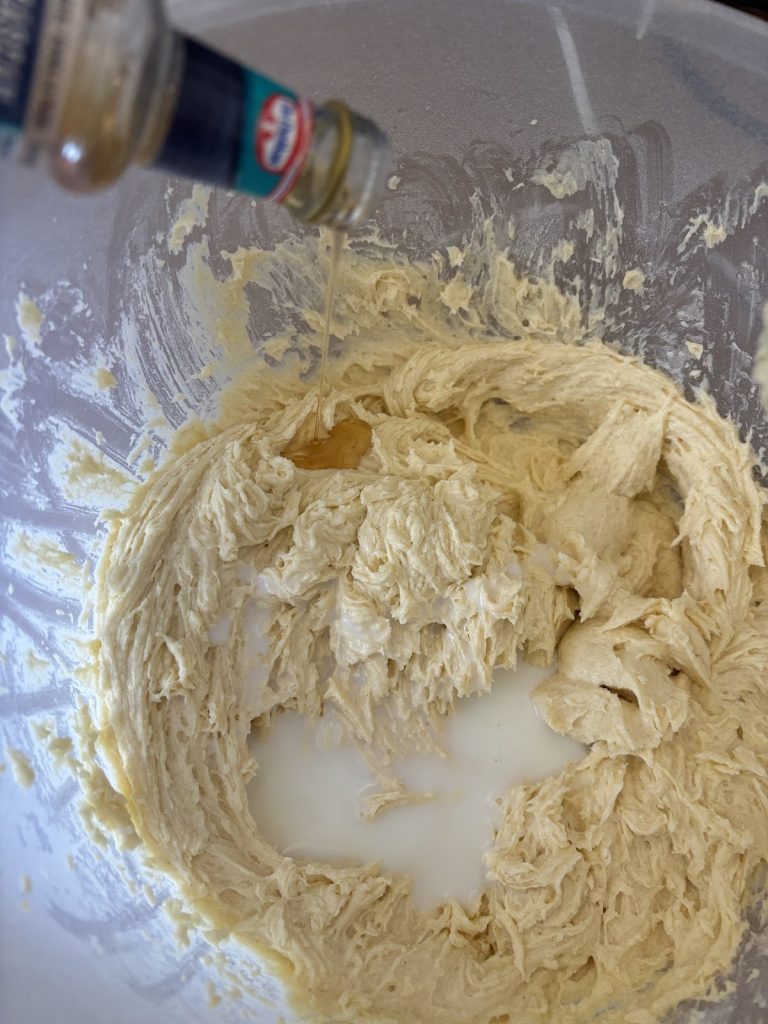
4. Once this is all mixed together, you should have a thick creamy batter. This is the chance to mix out any lumps in the mixture if needed.
5. This step isn’t necessary, but I find it makes the buns fluffier and taste a bit nicer. I usually add a splash of milk and vanilla essence at the end.

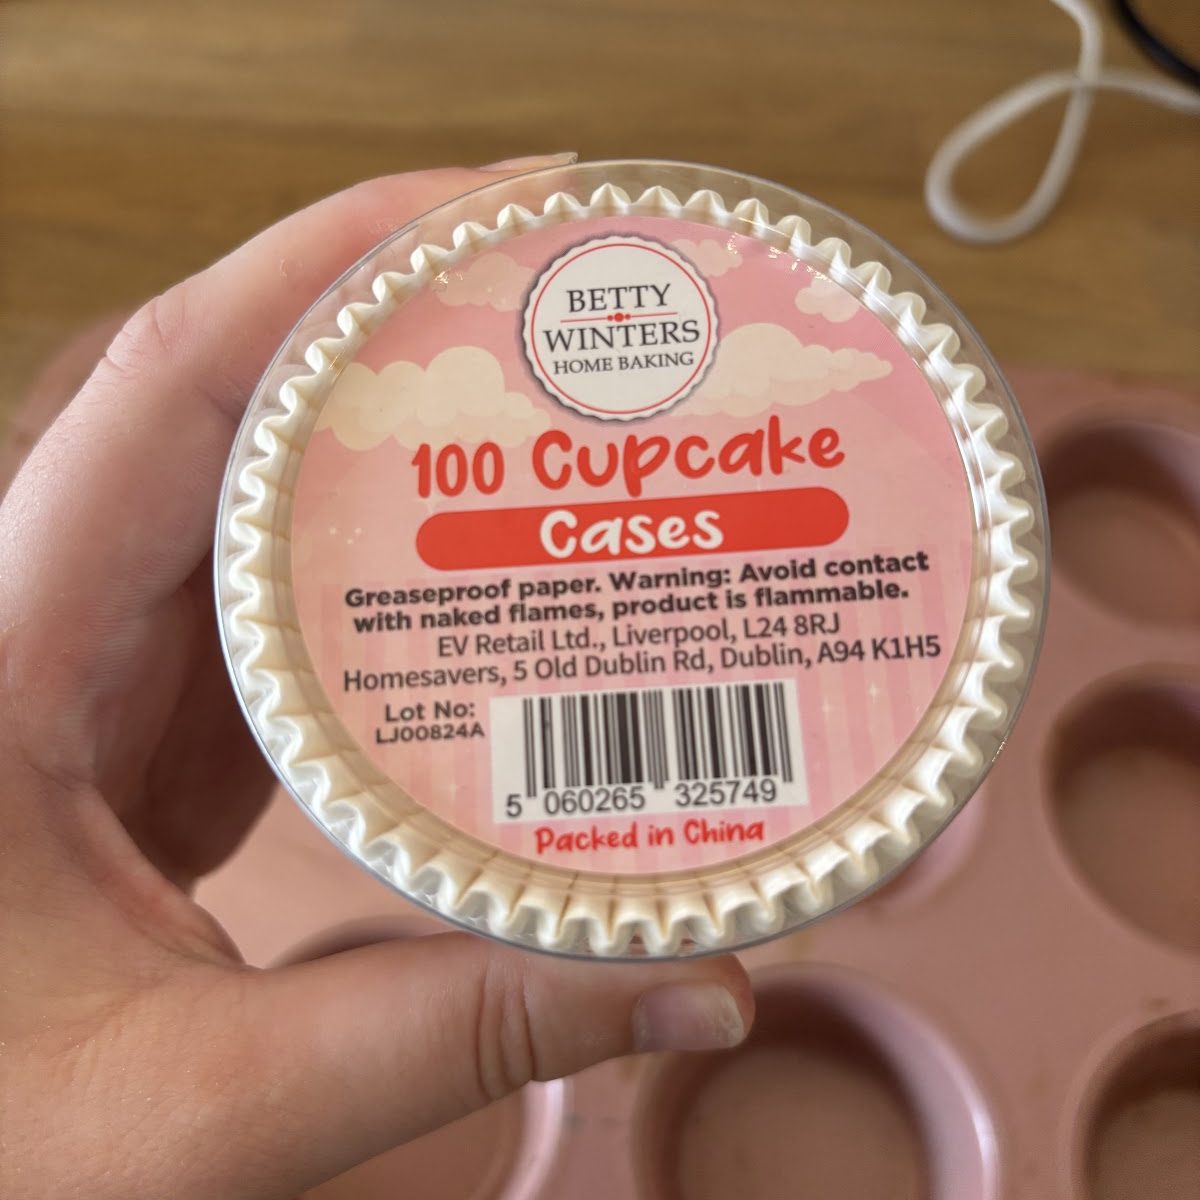
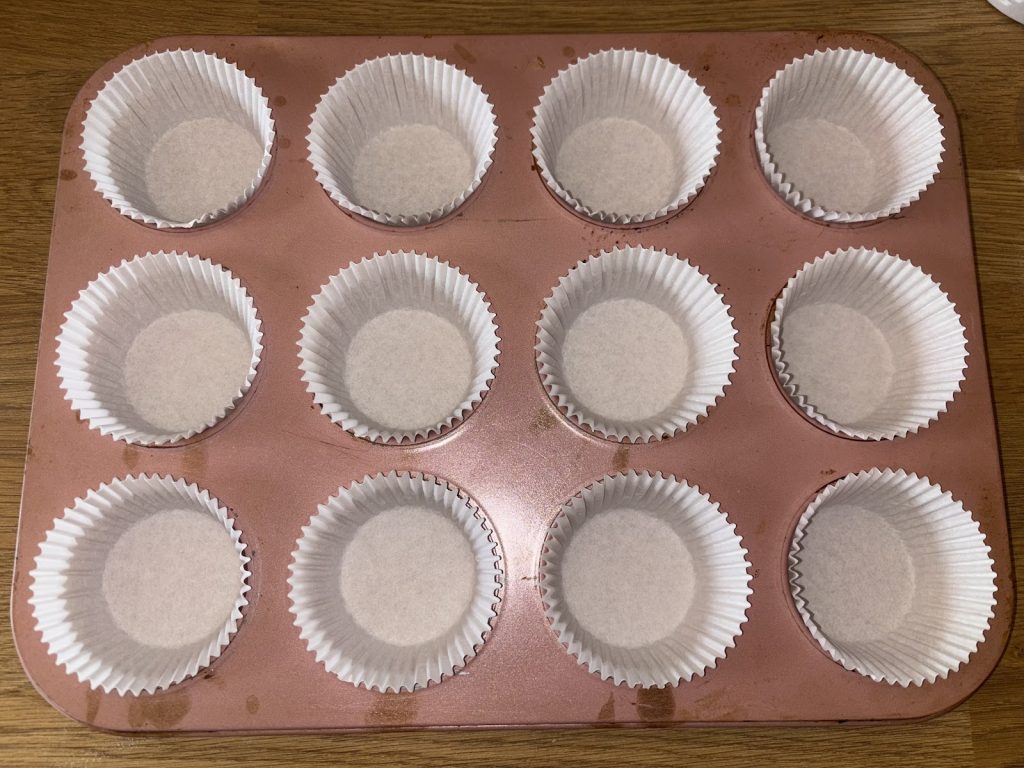
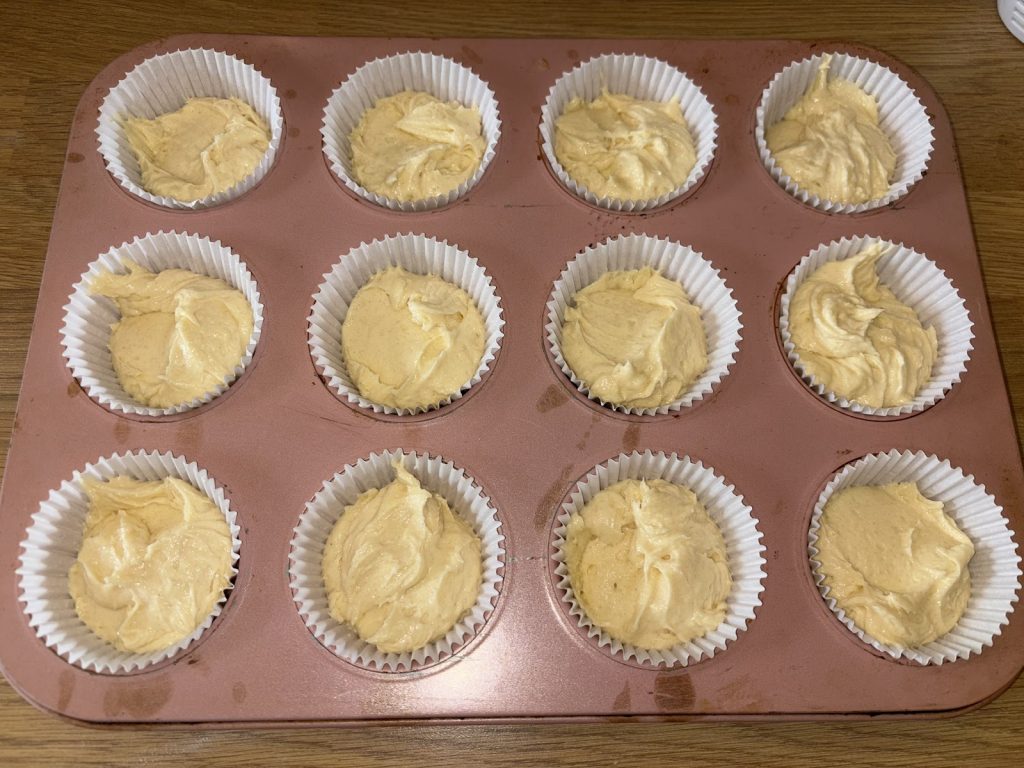
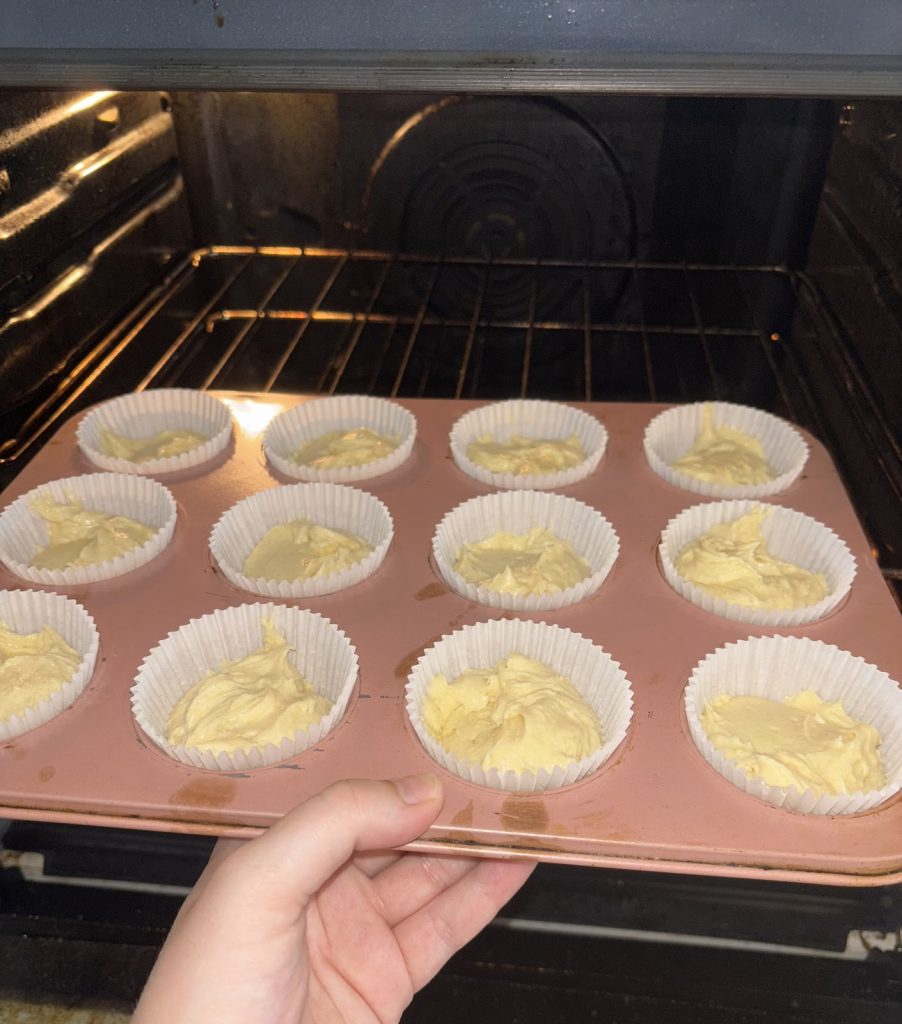
6. Prep the baking tray by using your fave cases and slotting one into each holder. This could also be the basic white ones in the back of your cupboard, or going the extra mile and using silicone reusable cases. Any will work and be just as delicious! Try using themed ones for an event?
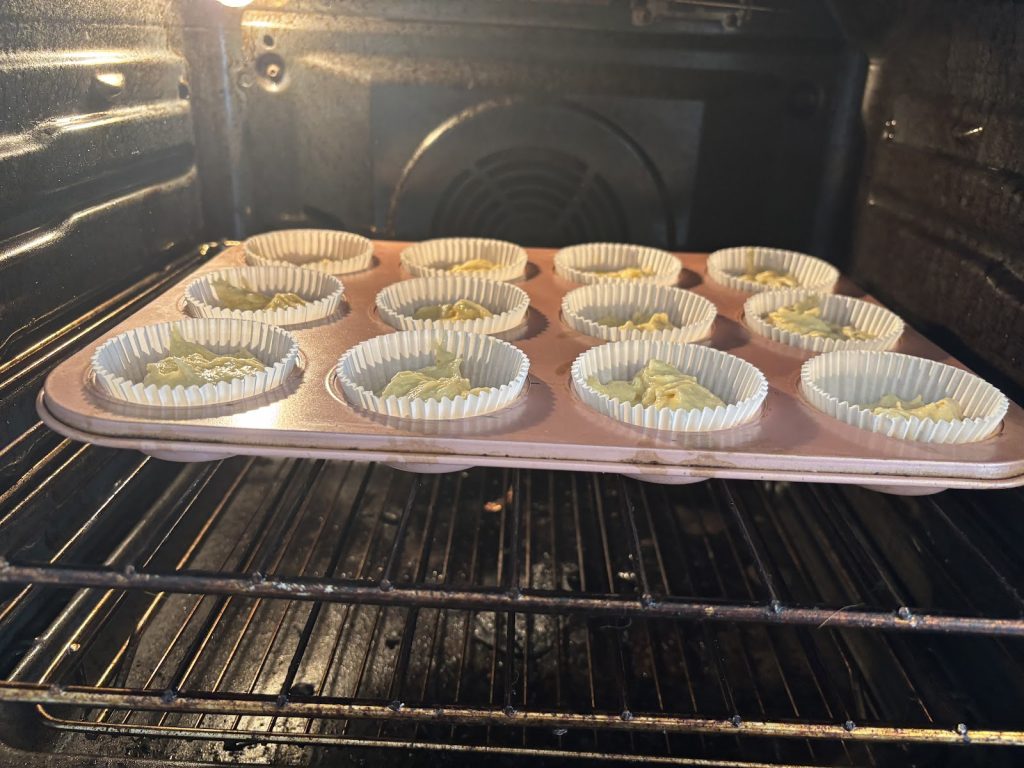
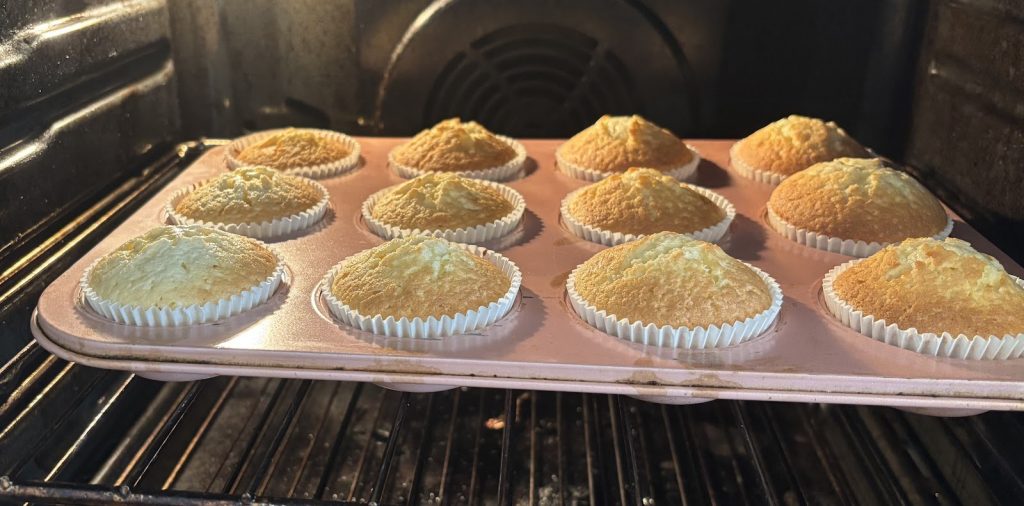
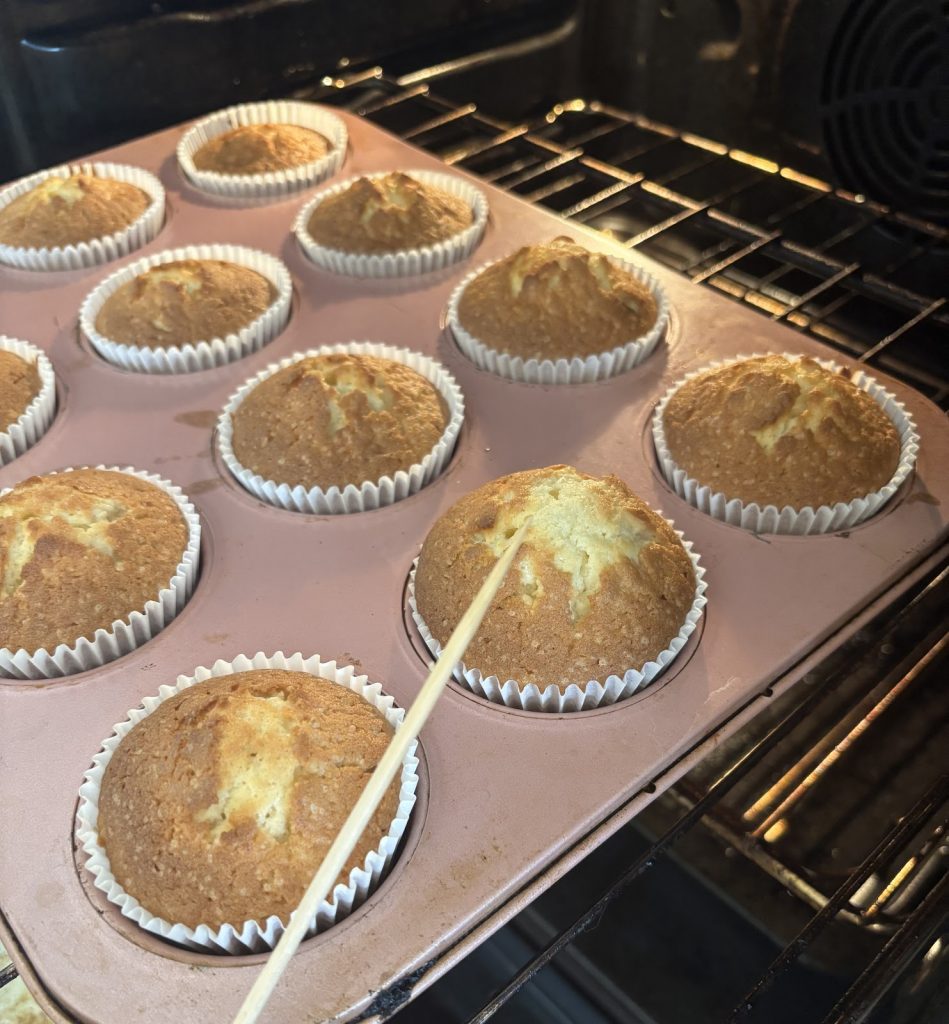
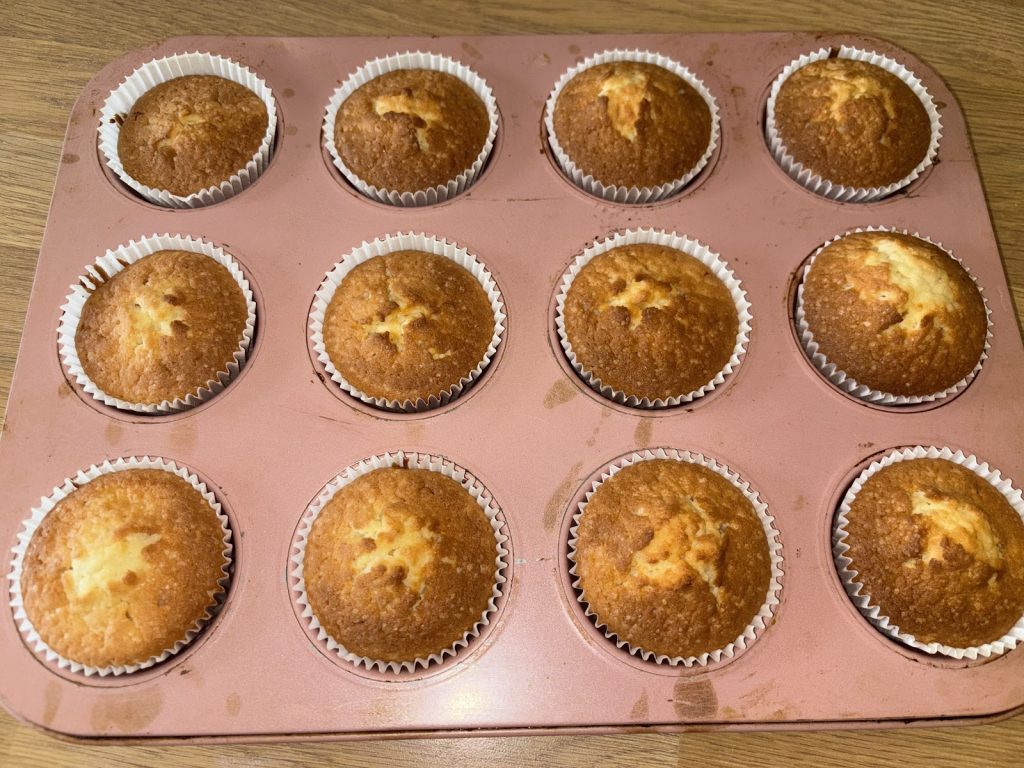
7. Bake in the oven for 8-10 minutes or until golden brown.
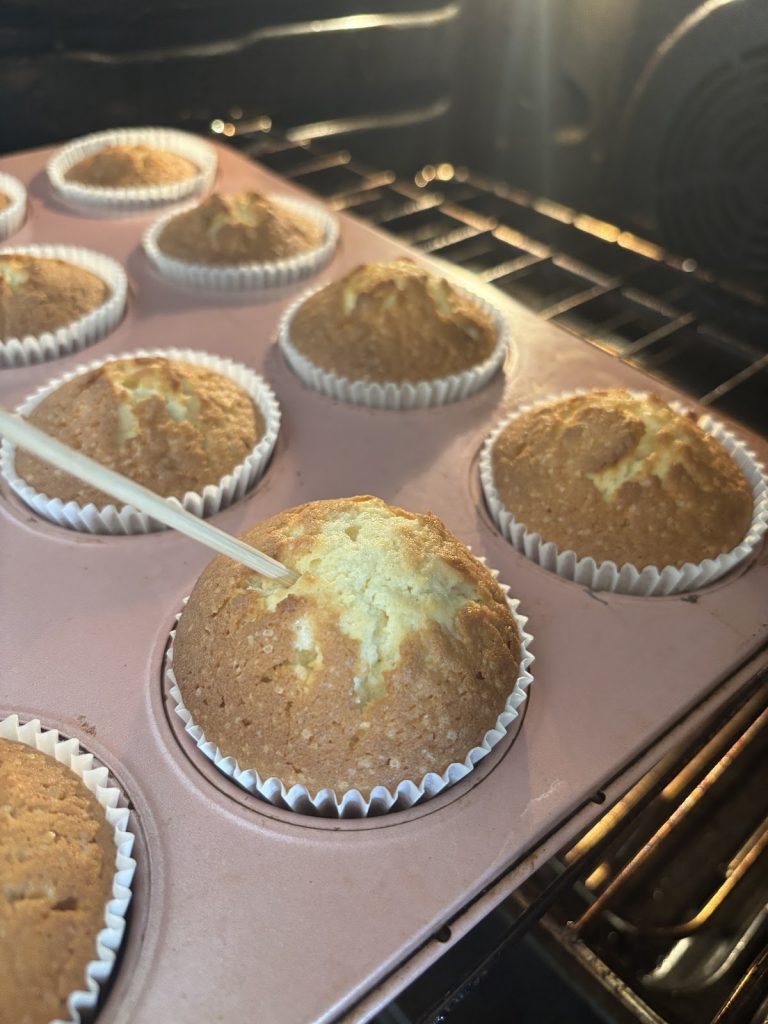
8. In order to check if they are done, use a skewer or toothpick to poke into the side of a bun to the centre. When you pull the stick out, if there is mixture on the stick, the buns need longer, if it is mostly clean, the cakes are done. It is important to use your judgement, but it will be quite clear when they look done.
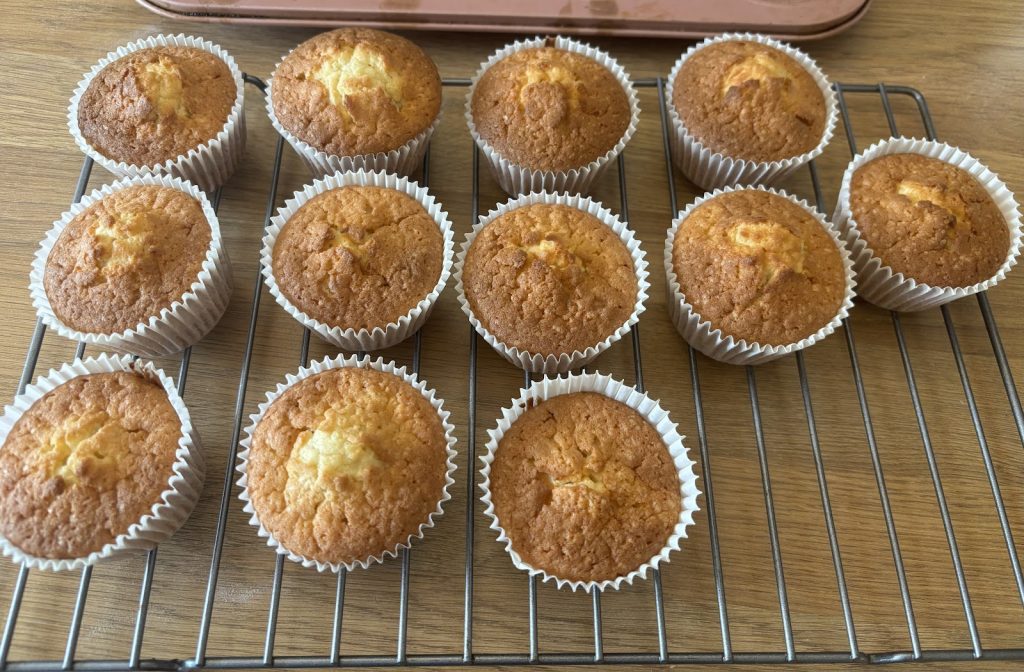
9. Leave on a tray to cool before icing, or eat warm! I would recommend putting them in a fridge for a few hours or overnight if you are planning on icing. You may have to do a couple of rounds of trays if you only have one, depending on how much mixture you have!
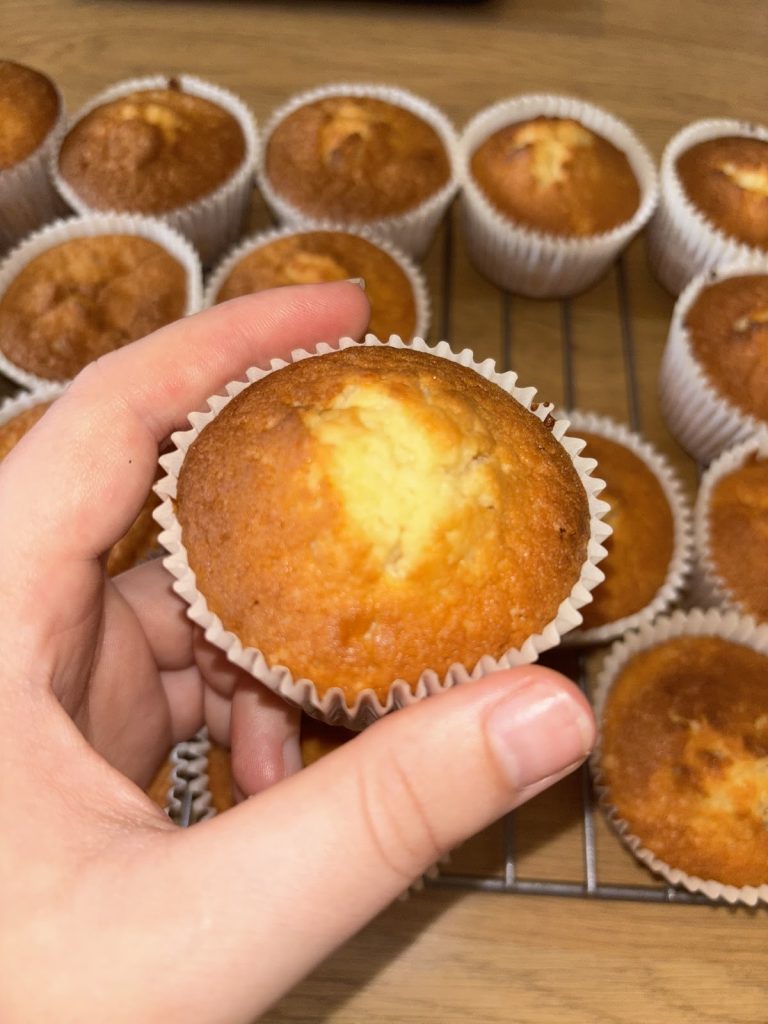
If you do give these a try, I hope you thoroughly enjoy them. Don’t be afraid to share some pictures with me, especially if you give them an ice and some decoration.
Hopefully this easy and handy recipe can become a staple in your kitchen too!
Thanks for reading,
Amy x